
Granite fabrication is a highly skilled and intricate process that transforms raw granite stone into beautiful, functional surfaces for various applications, including countertops, flooring, backsplashes, and more. The process requires precision, advanced tools, and a deep understanding of the stone’s unique characteristics. In this guide, we’ll take you through the steps involved in granite fabrication, the equipment used, and how to ensure a high-quality result for your project.
The Steps of Granite Fabrication
The granite fabrication process involves several stages, each of which requires careful attention to detail. Let’s break down each step:
1. Slab Selection
The first step in granite fabrication is selecting the right slab of granite. Raw granite is extracted from quarries in large blocks and transported to fabrication facilities. At the facility, these blocks are cut into slabs, which are typically 2 to 3 centimeters thick.
When selecting a slab, it’s important to consider the color, pattern, and grain structure. Each granite slab has unique patterns and veins that can greatly affect the final look of the finished product. Many fabricators allow customers to choose their preferred slab by viewing it in person, either at a showroom or at the fabrication facility.

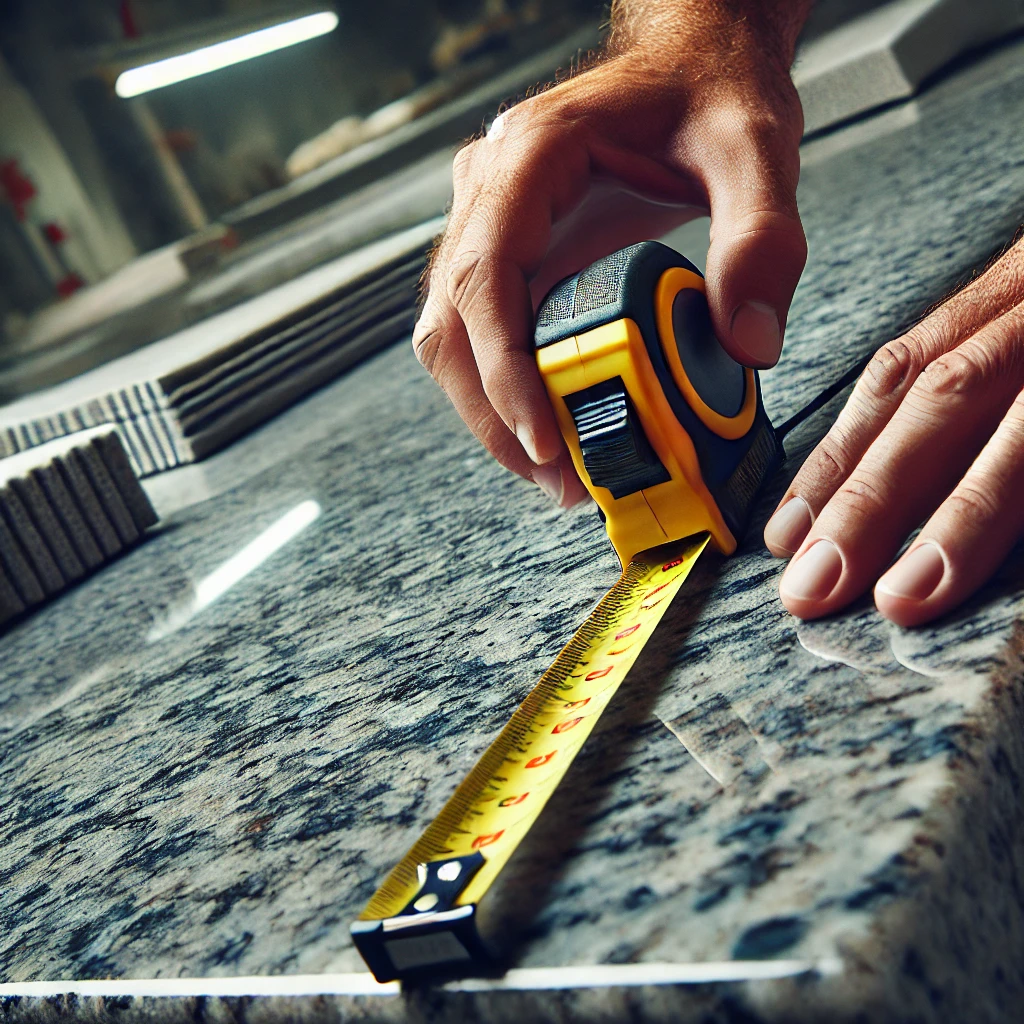
2. Measuring and Template Creation
Once the granite slab has been selected, the next step is to measure the area where the granite will be installed. For countertops, this involves taking precise measurements of the countertop space, including the length, width, and any cutouts required for sinks, stoves, or other fixtures.
A template is then created using either cardboard or plastic. The template is used to trace the exact shape and dimensions of the countertop onto the granite slab. This step is critical to ensure that the granite fits perfectly into the designated space.
3. Cutting the Granite Slab
After the template has been created, the granite slab is cut to the desired shape. This is typically done using large, specialized diamond saws that can cut through the dense stone with precision. The fabricator will follow the template closely, making careful cuts to achieve the correct dimensions.
In some cases, water jet cutting technology may be used, which employs high-pressure water to make incredibly precise cuts in the granite. This method helps to reduce the amount of dust generated during the cutting process and ensures a clean, accurate cut.

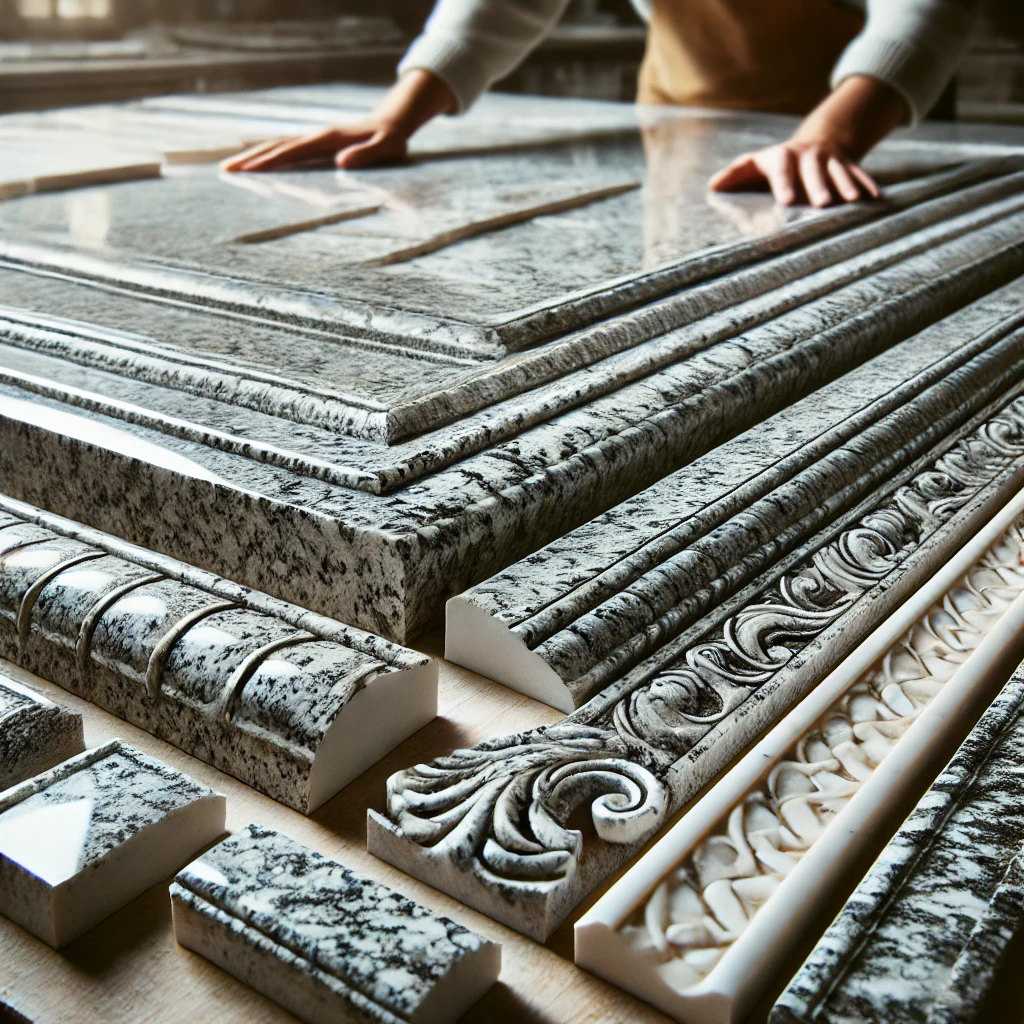
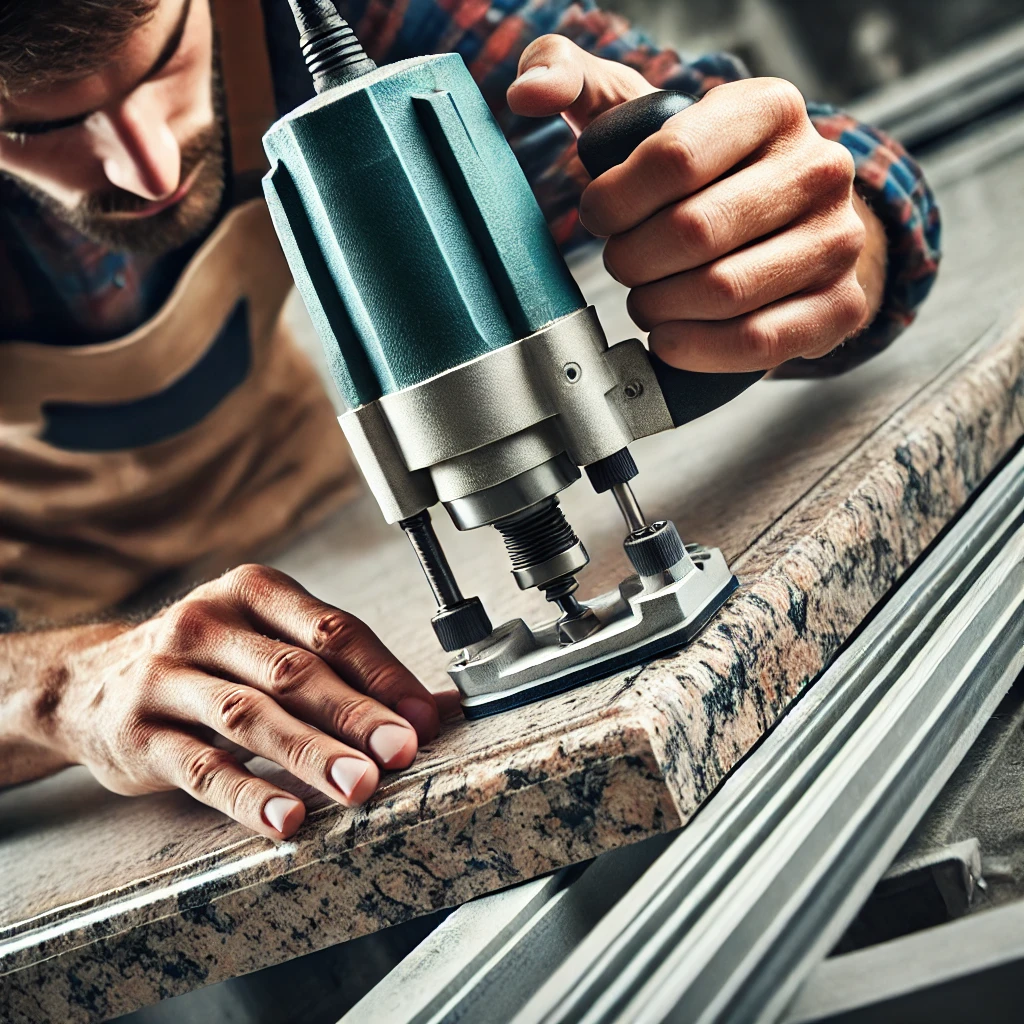
4. Edge Profiling
Once the granite slab has been cut to size, the next step is to shape the edges. Granite edges can be customized with a variety of profiles, such as straight edges, bullnose edges, ogee edges, or bevel edges. The type of edge you choose can significantly impact the overall aesthetic of the granite surface.
The edge profiling is typically done using a specialized tool called a router or CNC machine (Computer Numerical Control). This process involves grinding the edges to create smooth curves or sharp angles, depending on the design chosen.
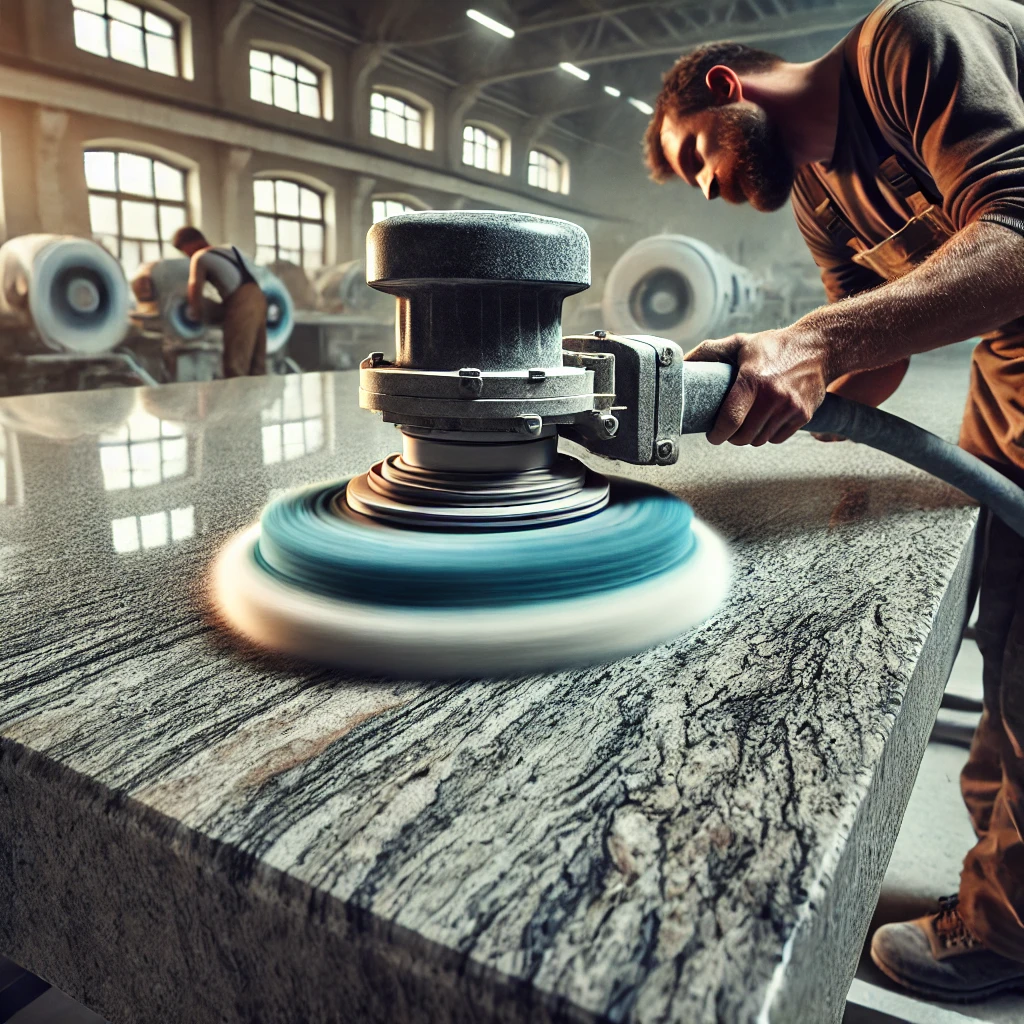
5. Polishing the Granite
After the granite has been cut and the edges have been shaped, the next step is polishing the surface. Granite polishing involves using a series of abrasive pads and polishing compounds to achieve a smooth, shiny surface.
The level of polish can vary depending on the desired finish. A high-gloss, mirror-like finish is common for countertops, but some people may prefer a honed or matte finish, which is more subtle and has a softer appearance.
The polishing process brings out the natural beauty of the stone, highlighting its color, texture, and veining patterns. It also helps protect the surface from dirt and stains, making it easier to maintain.
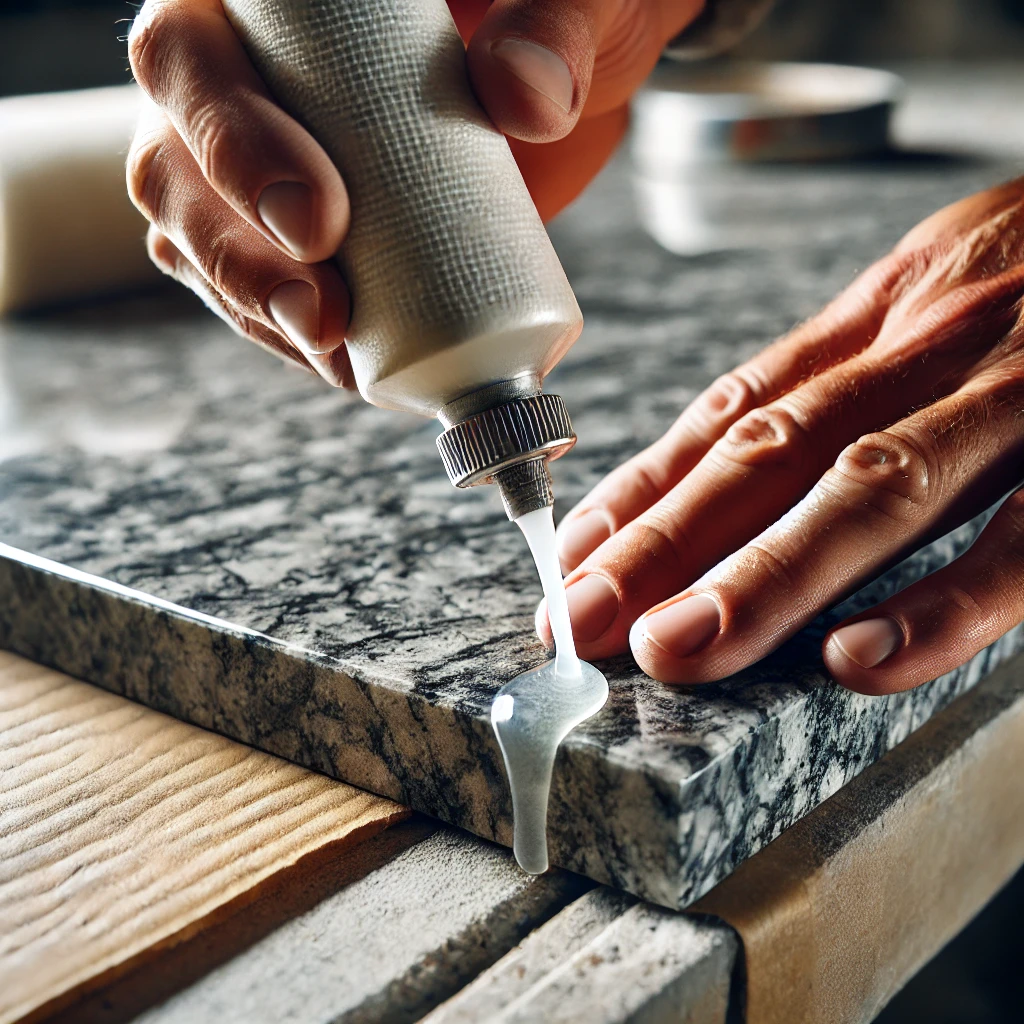
6. Sealing the Granite
Granite is a porous material, which means it can absorb liquids and stains if not properly sealed. Sealing is a crucial step in granite fabrication, as it helps protect the stone from liquids such as oil, wine, and water, which could cause staining or damage.
The sealing process involves applying a protective sealant to the surface of the granite. The sealant fills the pores in the stone, creating a barrier that prevents liquid absorption. Sealant is typically applied after the granite has been polished, and it should be reapplied periodically to maintain its protective properties.
7. Final Inspection and Quality Control
Once the granite has been fabricated, polished, and sealed, it undergoes a final inspection. The fabricator will check the surface for any imperfections, such as chips, cracks, or unevenness. If any issues are identified, they are addressed before the granite is sent for installation.
At this stage, the fabricator will also confirm that the granite matches the customer’s specifications. This includes checking the edge profiles, color, and overall dimensions to ensure that the final product is exactly what was ordered.
8. Delivery and Installation
After passing the quality inspection, the granite is ready for delivery and installation. The fabricated granite pieces are carefully packed and transported to the site. Depending on the size of the installation, the pieces may need to be handled with cranes or other lifting equipment to ensure they are placed correctly.
The installation team will then carefully install the granite pieces in their designated spaces. For countertops, this involves placing the granite slabs on the cabinets, securing them in place, and ensuring that all joints are properly sealed. For flooring, the granite tiles are carefully laid down and grouted.


